
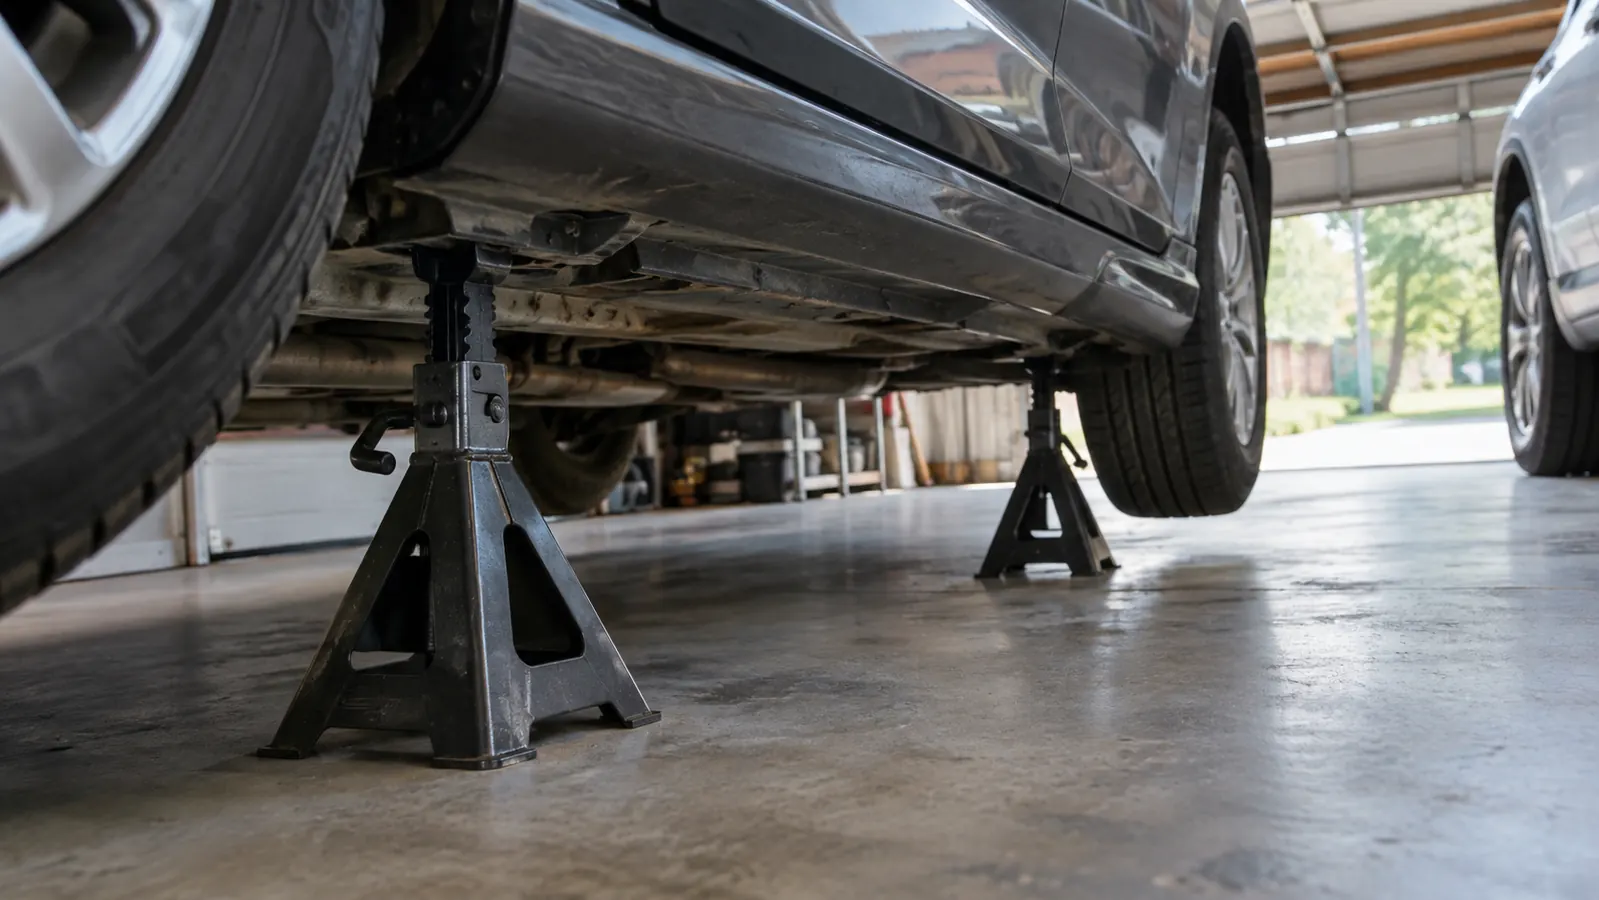
The floor jack gets all the attention. It is the tool you roll out, pump, and watch do the heavy lifting. But the floor jack is not what keeps a car from landing on you. The jack stands are. If you have ever slid under a car on a floor jack and felt the whole thing settle a half inch while you were under it, you already know why a set of stands is not optional. I have wrenched on my own cars for over 30 years, and the one rule I will not bend is this: the jack lifts the car, the jack stands hold the car, and never the other way around.
This guide is the exact process I use in my own garage outside Jonesboro, Arkansas, working on a 2014 F-150 and a 2008 Accord my daughter drives. It covers where to lift, where to set the stands, how to test the car before you get under it, and the mistakes I see people make in their own driveways. The stands I reach for every time are the BIG RED T43202 Torin 3-ton steel jack stands, a pair I have used for years and trust enough to put under a truck that weighs close to two and a half tons empty.
Before You Crawl Under Anything, Get the Stands That Hold
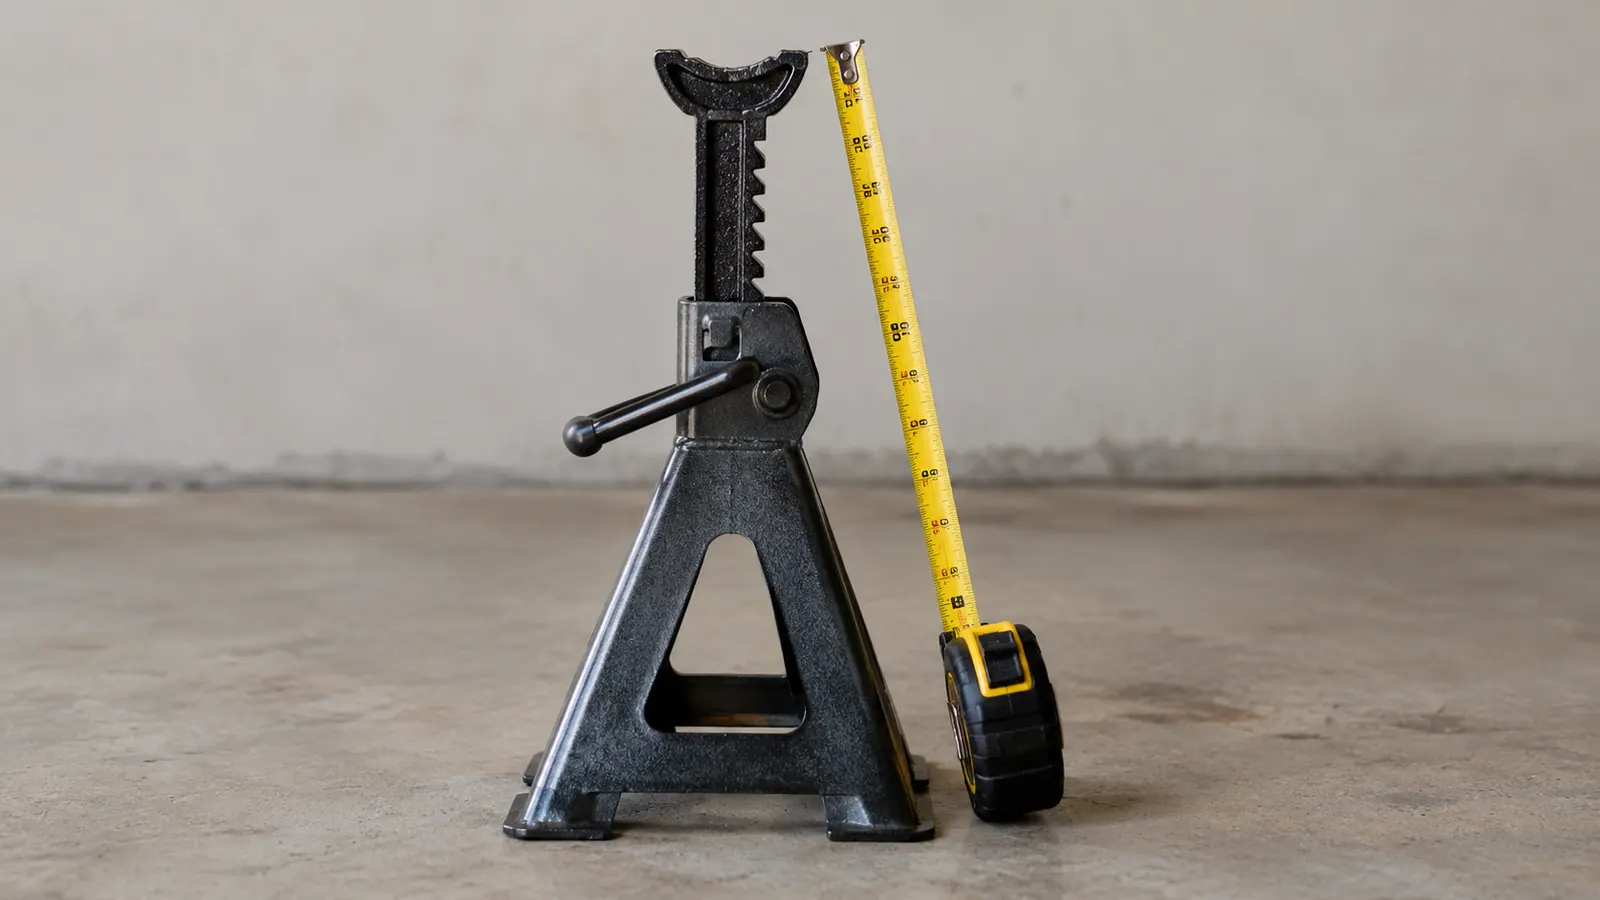
A floor jack is a lifting tool. A jack stand is a holding tool. The BIG RED T43202 Torin 3-ton pair gives you a 6,000 lb combined capacity and a locking ratchet bar that adjusts from 11-1/4" to 16-3/4". That is the tool that keeps the car where you left it.
Amazon Check Today's Price on Amazon →Step 1: Find a Level Spot and Chock the Wheels That Stay on the Ground
Before you touch the jack, look at the ground. Concrete is best. Asphalt can soften in summer heat and let a stand sink. Dirt or gravel is a no for me unless I am only changing a tire at the side of the road, and even then I am looking for the flattest, firmest patch I can find. My garage has a concrete floor, which is one of the reasons I do almost all of my own work there. The car needs to be on level ground, in neutral or park with the parking brake set, and the wheels that are staying on the ground need chocks behind them.
If you are lifting the front, chock the rear wheels. If you are lifting the rear, chock the front wheels. I use a pair of rubber wheel chocks, but a couple of 2x4 blocks work in a pinch. The point is to stop the car from rolling while the weight is off the other end. I also shift an automatic transmission into Park and leave the parking brake on. Some people tell you to leave the parking brake off so the rear wheels can roll when you lift the front, but with chocks in place, the parking brake on is the safer choice for me. I check the concrete for cracks or a slope before I start, and I sweep the area where the bases will sit. A tiny piece of gravel under a stand base is enough to make it wobble, and a wobble is enough to make me stop the whole job. Last spring I spent ten minutes cleaning the floor before a brake job, and it was ten minutes well spent.
Step 2: Know Your Lift Points Before You Position the Jack
Every car has specific jacking points, and they are almost never the middle of the rocker panel. On most unibody cars, the factory lift points are reinforced areas of the pinch weld, the flat, reinforced seam that runs along the bottom of the rocker panels. On a body-on-frame truck like my F-150, I lift on the frame rails. On the Accord, I use the factory pinch weld locations marked in the owner's manual. If you are not sure where your lift points are, the owner's manual will show you, and most manuals cover both floor jack and jack stand placement.
The mistake I see most often is someone setting the jack under the center of a door sill or on a plastic cover, then wondering why the sheet metal crinkles. The pinch weld is reinforced for a reason. Position the jack saddle directly under the reinforced area, with the saddle centered so the load goes straight down the jack. If you are lifting one end of the car, lift the center of that end, at the crossmember or the specified center lift point, so both wheels come off the ground together and you can set a stand under each side. I learned this the hard way on an old Chevy I owned in my twenties, when I put the jack right in the middle of the rocker panel and watched it fold. The sheet metal popped back mostly, but it never looked right. On my F-150, the frame rails are obvious, but on the Accord I still pull the manual out every time because the pinch weld has a plastic cover over part of it that you have to work around.
Step 3: Set the Stands Close to the Lift Points, Then Lower the Car Onto Them
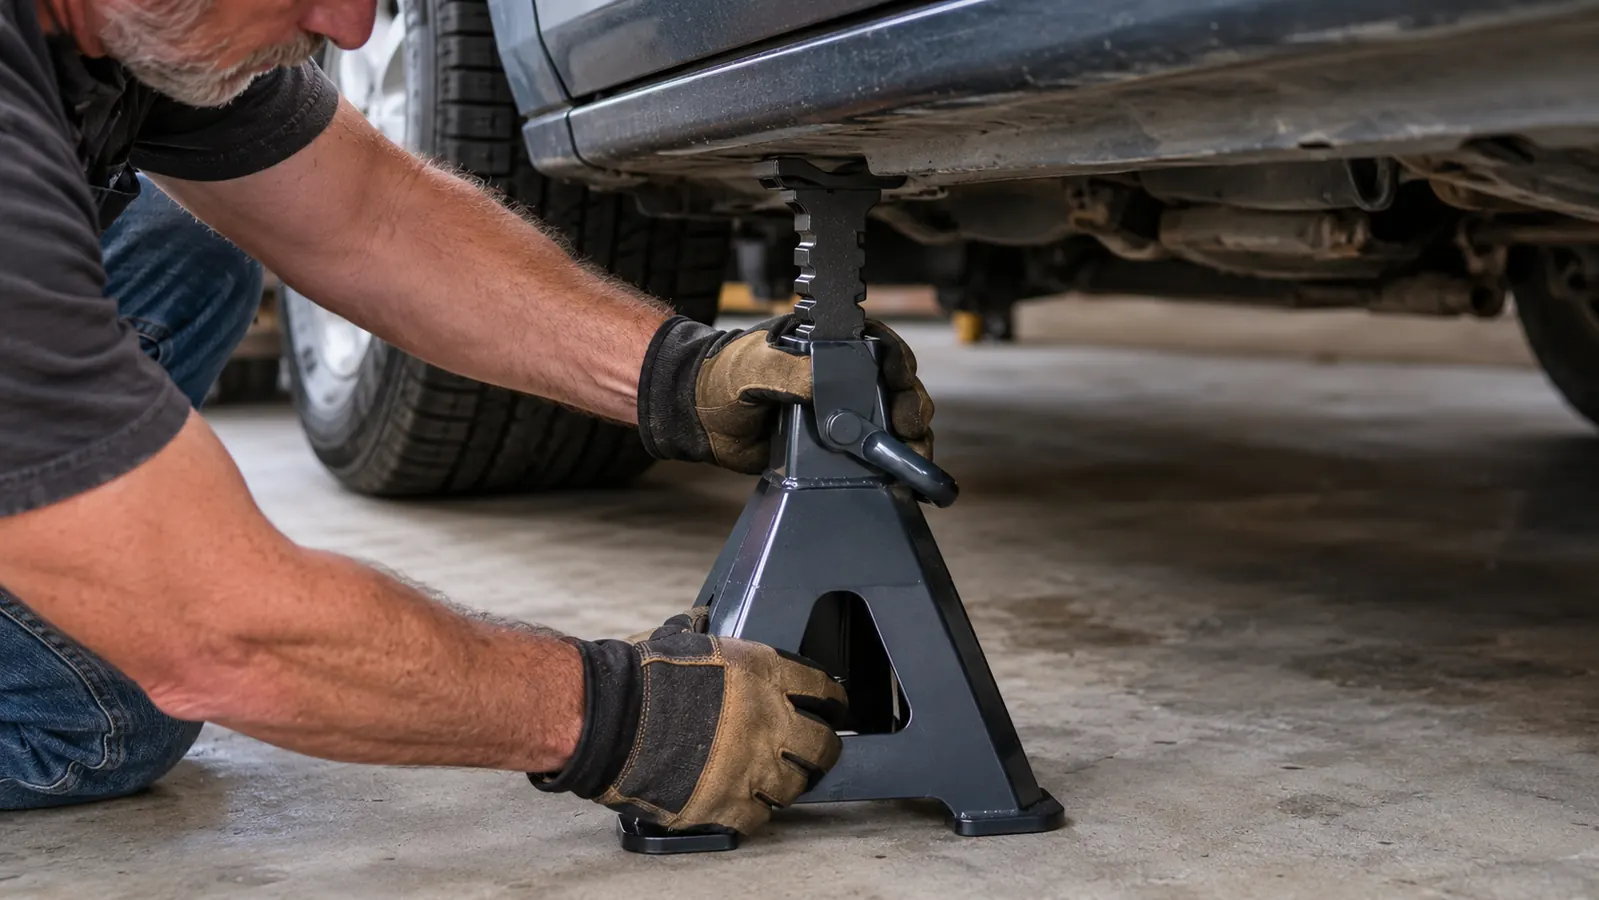
Once the car is up, do not move the jack away and start hunting for a place to put the stands. Set the stands before you lift, or at least before you let the car down. I position each BIG RED T43202 stand next to the lift point, close enough that the car only needs to come down a couple of inches to land on it. The wide pyramid foot base sits flat on the concrete, and the multi-position ratchet bar is set to the height I need before the car comes down, not after.
The ratchet bar is the part I like about the BIG RED stands. It has a sawtooth design that locks into place, so the height adjustment is quick and it stays where you set it. You adjust it with the car up, set it one notch below where you think it needs to be, then lower the car gently onto the saddle. If the stand is too tall, the car will rock on the jack. If it is too short, you have to lift the car again. One notch at a time is faster than you think, and it beats fighting a threaded post stand that spins while you are trying to hold the car up. When I did the front brakes on the F-150 last fall, I set both stands to the same notch, lowered the truck, and it landed perfectly square. When I did the Accord's rear struts, I had to raise the driver side one notch because the exhaust hangs a little lower on that side. The sawtooth bar makes that kind of fine adjustment a two-second job instead of a wrestling match.
Lower the car slowly and watch the saddle seat against the pinch weld or frame rail. You want the weight of the car on the stand, not hanging from the jack. Once the car is resting on the stands, you can lower the jack the rest of the way and slide it out from under. The car should sit solid, with no rocking and no gap between the saddle and the lift point.
Step 4: Test the Car Before You Get Under It
This is the step people skip, and it is the step that has saved me more than once. Before I put any part of myself under the car, I give the whole setup a test. I push hard on the front fender, side to side and front to back. I grab the stand and try to rock it. I look at all four corners of the stand to confirm the base is fully on the floor and the saddle is fully seated. Then I push again, harder. If anything moves, creaks, or settles, the car goes back up and I fix it right then.
The test is not about strength. It is about listening. A stand that is going to fail usually tells you first with a creak or a shift. A good test takes thirty seconds and it has never once been the thing that saved my life, because the real protection is doing the first three steps right. But it is the cheapest insurance you will ever buy, and it is the difference between confidence and doubt when you are lying on your back with a brake rotor over your head. I remember one time on a gravel driveway years ago, I skipped the test because I was in a hurry to get an oil change done before dark. I got under the car and it settled an inch with a loud pop. I slid out, jacked it back up, and realized one of the stands had sunk into the gravel. I have not skipped the test since, and I will not get under a car on gravel at all anymore unless I have a solid piece of plywood under each stand base.
Step 5: Use One Stand Per Corner and Never Crawl Under a Car Held by a Jack Alone
For most jobs, you will lift one end of the car and support it with two stands, one under each side. That is fine for an oil change, a front brake job, or a battery swap. For anything that has you under the middle of the car, or any job where you need all four wheels off the ground, use four stands, one at each corner. A car supported at four points is a car that is not going anywhere. I have a second pair of BIG RED T43202 stands for exactly that reason, so I can run four corners when I am doing something like a full brake line job or dropping the exhaust. Last year when I dropped the exhaust on the Accord to replace a rusted heat shield, I had all four corners up on stands for three days while I waited on a part. The car never moved a quarter of an inch. That is the kind of confidence four solid contact points gives you, and it is why I do not mess with a single stand and a jack for anything but the quickest tire rotation.
The rule I repeat to anyone who asks is simple: the floor jack is for lifting, the jack stands are for holding. A floor jack has a hydraulic cylinder and a release valve, and hydraulic cylinders can bleed down. A jack stand is a solid steel column with a locked ratchet bar. It does not bleed down, it does not settle, and it does not let go. If you take one thing from this guide, take that: never get under a car that is supported only by a jack. The stands are not a convenience. They are the thing between you and the concrete.
What Else Helps
A few extras make the whole job safer and easier. A rubber work mat or a piece of cardboard keeps the concrete from drawing the heat out of your back. A good work light with a magnetic base hangs on the frame and points where you need it. And a pair of mechanic's gloves saves your knuckles on every job, not just the ones under the car. None of these are as important as the stands themselves, but they are the difference between a job you finish and a job you put off. I also keep a roll of paper towels and a can of brake cleaner on the workbench, because the job is not done until you can see what you just fixed.
You also want to think about the load. The BIG RED T43202 stands are rated for 3 tons, or 6,000 lb, per pair, and the pair is the way they are meant to be used. My F-150 weighs close to 5,500 lb with me in it, so a single pair is right at the edge for the whole truck. That is why I lift one end at a time for most jobs, and why I use two pairs when I have the whole truck up. Matching the stand capacity to the weight of the vehicle is not a suggestion. It is the whole point.
The jack lifts the car. The jack stands hold the car. Never get under a car that is supported by a jack alone.
Set Yourself Up With a Pair You Can Trust
The BIG RED T43202 Torin 3-ton steel jack stands adjust from 11-1/4" to 16-3/4", lock with a sawtooth ratchet bar, and carry a 6,000 lb combined capacity. That is the last set of stands you will need to buy for a home garage.
Amazon Check Today's Price on Amazon →