Every oil change starts the same way. You drain the oil, replace the drain plug, and reach up for the filter. Most days it spins right off and you are done in twenty minutes. But every so often one does not move, and that is when a simple job turns into a wrestling match on the garage floor. A strap wrench slips off the cap. A pair of channel locks crushes the can. The old trick of driving a screwdriver through the filter works, but it makes a mess, sprays oil down your arm, and leaves you picking bits of metal out of the threads while you wonder if any of it fell into the oil pan.
The fix is a swivel oil filter wrench, and the HORUSDY 5-piece set is the one I reach for now. It gives you four sized wrench heads that cover filters from 2-3/4 inches up to 5-1/4 inches, plus a 12-inch adjustable pair of pliers for filters that sit in the worst spots. Here is how I use it, step by step, on jack stands and ramps in my own garage, on the two vehicles I actually work on.
Four wrench heads plus a 12-inch plier, one set for every filter you own
The HORUSDY swivel oil filter wrench set covers filters from 2-3/4 to 5-1/4 inches with a flex head that gets you square on the filter even when it sits sideways against the frame. The 12-inch adjustable pliers handle the rest. Check today's price on Amazon.
Amazon Check Today's Price on Amazon →Why a Swivel Wrench Instead of the Usual Tricks
A strap wrench works when the filter is merely snug. It fails when the filter is actually stuck, because the strap stretches and slips before the filter lets go. Channel locks crush the can, which makes the grip worse and usually turns a removable filter into a destroyed one. And driving a screwdriver through the can should be a last resort, not a first move. All three of those approaches share the same problem: they grip the filter from the outside instead of engaging the cap the way the factory intended.
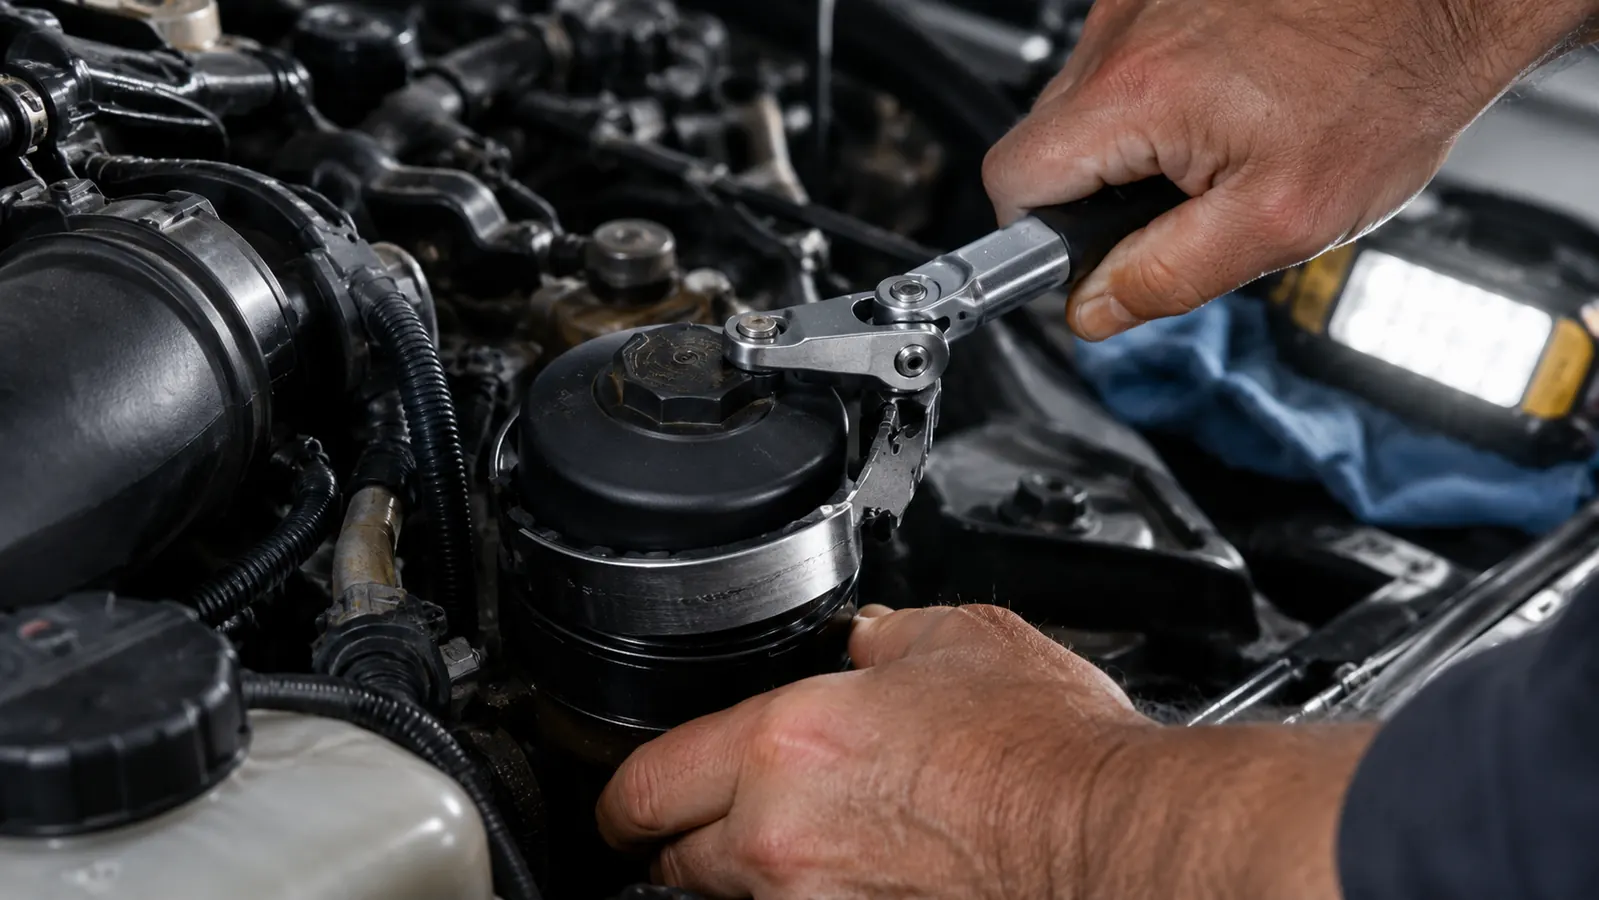
A swivel oil filter wrench grabs the cap of the filter, the same surface the filter was torqued onto at the factory. That means the force goes straight into the threads instead of squeezing the sides of the can. The swivel head is what makes it practical, because it lets the handle point where your hand needs to be while the head stays flat on the filter. On the Accord, the filter points at the subframe and there is no straight-line approach. The HORUSDY head tilts, I get my hand on the handle, and the filter comes off without me contorting under the car.
Step 1: Get the Vehicle Up and Give Yourself Room to Work
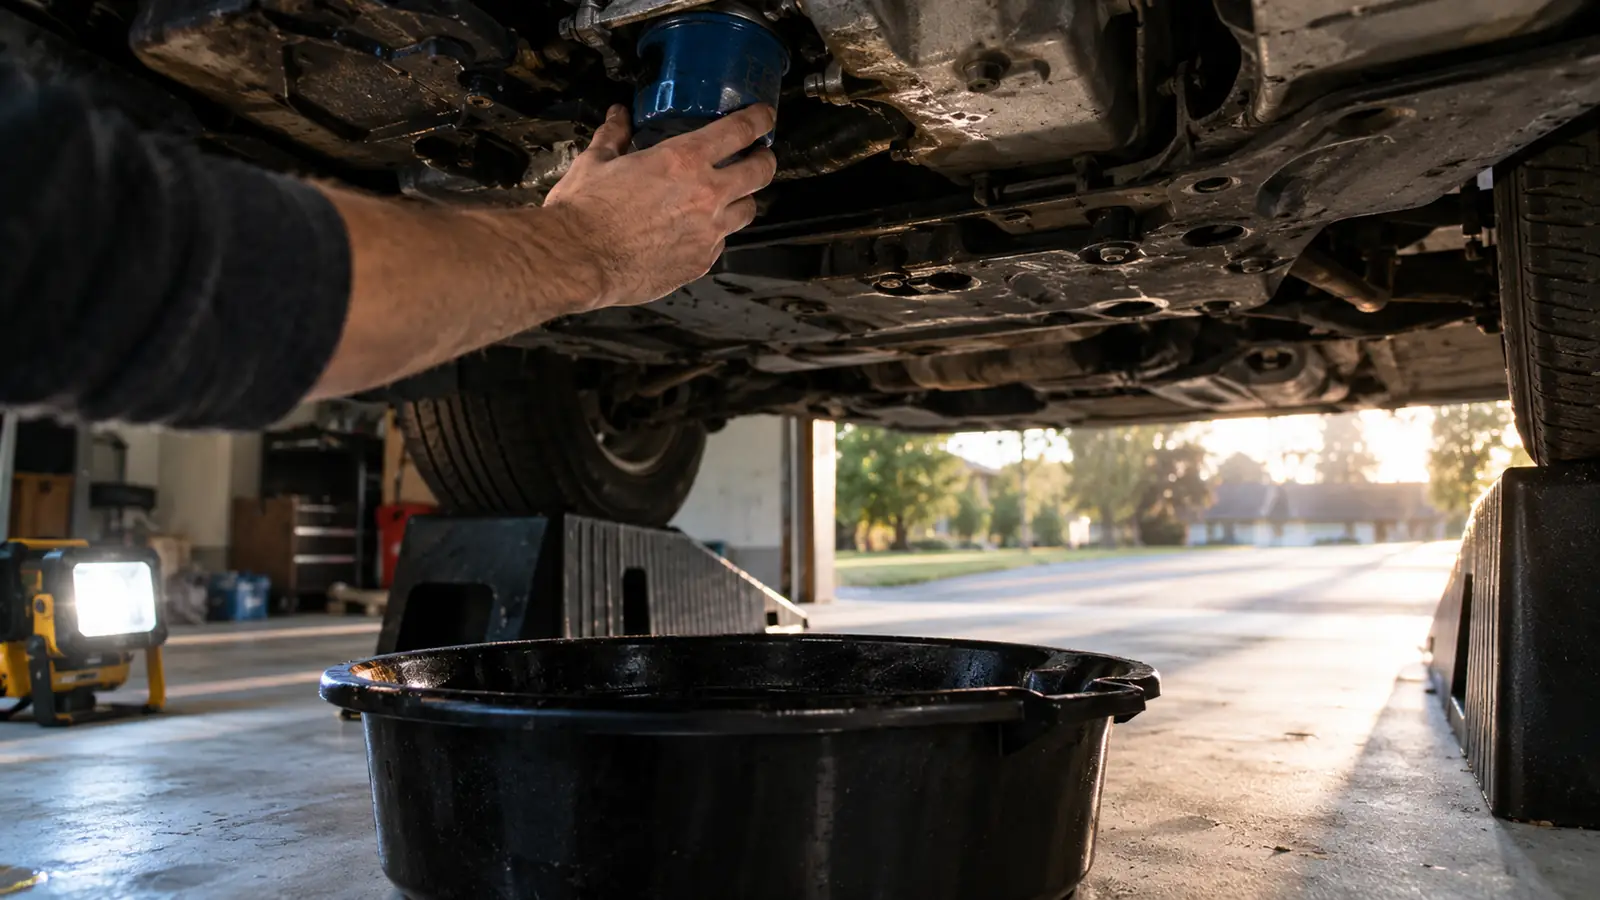
I do all my work on jack stands and ramps. No lift, no pit. For an oil change on my truck, I drive it up on a pair of ramps, set the parking brake, and chock the rear wheels. The point is not just getting the vehicle off the ground. It is giving yourself enough room to get both arms up to the filter and enough light to actually see what you are doing. A trouble light on a hook beats a flashlight in your teeth every time.
On the 2008 Honda Accord I keep running for my daughter, the filter sits low and faces the rear, which makes it awkward but reachable from underneath. On the truck it sits higher and angles toward the frame. Every vehicle is a little different, which is exactly why a swivel head matters. Before you crawl under, run the engine for a minute or two. Warm oil drains faster, and a warm filter housing gives a little more than a cold one. I do not know the physics, but I know a warm filter comes off easier than a cold one.
Set a drain pan under the filter before you touch anything. Even a clean removal spills a few ounces, and a stuck one will spill more when it finally lets go. I keep a piece of cardboard under the pan, because there is always one drip that finds its way past the edge. If your filter sits above the subframe, a piece of aluminum foil tucked between the frame and the filter will route the spill where you want it.
Step 2: Match the Wrench Size to the Filter Before You Reach Up
This is the step most people skip, and it is the one that causes the swearing. A strap wrench does not care about size, which is why it slips. A properly sized wrench head grabs the whole cap of the filter, so it has nowhere to slip. The HORUSDY set gives you four heads. The mini covers filters from 2-3/4 to 3-1/4 inches, the small covers 3-1/2 to 3-3/4, the medium covers 4 to 4-1/2, and the largest head reaches 5-1/4 inches. Between those four, you are covered for just about anything with a spin-on filter.
Most passenger cars and light trucks use a filter between 3 and 4-1/2 inches, so the small and medium heads get the most work in my garage. I hold the head up to the filter before I try to seat it. If it rocks side to side, it is the wrong size. The right head fits over the cap the way a socket fits a bolt, with no play. The flex head lets you tilt the handle into a natural position while the head stays square on the filter, and the stainless steel with the powder-coated finish gives it a solid bite without marring the cap.
If the filter sits where you cannot see it, run your fingers around the cap first to find the edges. You want to know how the head sits before you commit. On the Accord I do this by feel every time, because the filter points at the subframe and there is no angle where I can actually see the cap. It takes five seconds and it saves you from seating the wrench on the filter at an angle and rounding off the cap.
Step 3: Seat the Head Square and Keep It Square
The swivel is the whole point of this tool. A fixed wrench needs the handle to point somewhere you can pull. A swivel head lets the handle angle out of the way while the head stays flat on the filter. That matters on the Accord, where a straight wrench would have nowhere to go. It matters on the truck too, where the filter sits close to the frame rail.
I push the head on until it bottoms out on the filter cap. Then I give the handle a gentle rock in both directions. If the head is seated square, the handle moves the filter and not just the joint. If it rocks without moving the filter, the head is not fully engaged. Pull it off, reseat it, and try again. A half-seated wrench is how you round off a cap, and a rounded cap turns a simple filter change into a tow to a shop.
The powder-coated stainless steel gives the head a little bite on the filter cap, and the flex joint means you are not fighting the angle while you hold it. Once it is seated, I keep one hand on the head to hold it down while the other works the handle. It sounds fussy, but it takes two seconds and it is the difference between a clean pull and a skinned knuckle on the subframe.
Step 4: Break It Loose With Steady Force
Here is where people get hurt and filters get mangled. They jerk. A sudden yank on a stuck filter either breaks the cap loose violently or strips the wrench off and sends your knuckles into the frame. I brace myself, take a breath, and pull steadily. If it does not move, I do not pull harder. I reposition and pull from a slightly different angle. Sometimes the change of angle is what breaks the seal.
The 12-inch adjustable pliers in the HORUSDY set are the backup. They fit filters from 2-3/4 to 4-1/2 inches and give you a second way to grip a filter that the wrench heads cannot reach. I have used them exactly twice. Once on a filter recessed into a housing where no socket-style head would fit, and once on a filter that a shop had put on with an impact gun. Both times the pliers got the grip and the steady pull did the rest. The soft, non-slip grip is the part that matters when your hands are covered in old oil.
When the filter finally lets go, it usually does not give you any warning. One second it is stuck, the next it is free. Keep your hand out of the line of the filter so you do not punch the frame, and let the oil drain into the pan you set in step one. A stuck filter that breaks loose will dump a surprising amount of oil, so give it a minute before you pull the filter clear.
Step 5: Finish by Hand and Check the Old Gasket
Once it breaks loose, I spin it off by hand. The wrench comes off first. A filter that is free does not need a tool, and spinning it off with the wrench just risks cocking it on the threads. I turn it until the threads are clear, then tilt it down so the oil inside drains into the pan. Then I set it aside and take a look at what I am holding.
Before you reach for the new filter, look at the one in your hand. The old gasket should be stuck to the old filter. If it is still on the engine, you will find out the hard way when the new filter leaks. I run a finger around the mounting surface to confirm it is clean, wipe it with a rag, and smear a little fresh oil on the new gasket before I thread the new filter on by hand. That one smear of oil is the difference between a gasket that seats and one that binds.
Hand tight is the spec for most filters. I give it three-quarters of a turn past snug and no more. The torque spec for the housing is usually printed on the filter box or in the manual, and a filter that is too tight is how you end up doing this whole job again next time with another stuck filter. The wrench goes back in the drawer. It does not go on the new filter.
What to Do When Nothing Works
Every once in a while a filter is stuck so badly that no wrench is going to win. You have rounded the cap, the pliers are slipping, and the filter is starting to shred. That is when I stop, walk inside, and let the vehicle sit with the filter housing sprayed with penetrating oil. Heat cycles from the engine will work the oil into the threads. Come back the next morning and try again. Nine times out of ten it comes off with the same wrench that failed the night before.
If it still will not move, the screwdriver method is the last resort. Drive a long screwdriver through the side of the filter can, close to the cap, and use it as a lever. It makes a mess, so keep the drain pan under it. And accept that you are destroying the filter, not removing it. The HORUSDY pliers have never failed me on a filter I could reach, and the wrench heads have never failed me on a filter I could get square on. The only filters that beat me are the ones I cannot get a tool on at all.

What Else Helps
A few things make the whole job easier. A filter drain pan with a spout pours old oil straight into a jug instead of across your forearm. Nitrile gloves keep the mess off your skin and give you a better grip on a slick filter. A cheater pipe over the wrench handle is a bad idea; the flex joint is not built for that kind of torque, and if the filter is that stuck you are better off with the pliers and a steady pull. And once the new filter is on, run the engine for a minute and check for leaks before you put the skid plate back on. A leak you catch with the vehicle on ramps is a five-minute fix. A leak you catch after everything is buttoned up is a second oil change.
The pliers have rescued me twice: once on a filter no wrench head could reach, and once on a filter a shop had put on with an impact gun.
One set, every filter in your driveway
From the mini head for small engines to the largest head at 5-1/4 inches, the HORUSDY set covers the filters on both of my vehicles and most of what you will find under a car or truck. The flex heads and the 12-inch pliers mean you are not buying a specialty tool for every vehicle you own. Check today's price on Amazon.
Amazon Check Today's Price on Amazon →